loading
loading

Country of origin : SWISS
Solution : SURFACE TREATMENT SOLUTION
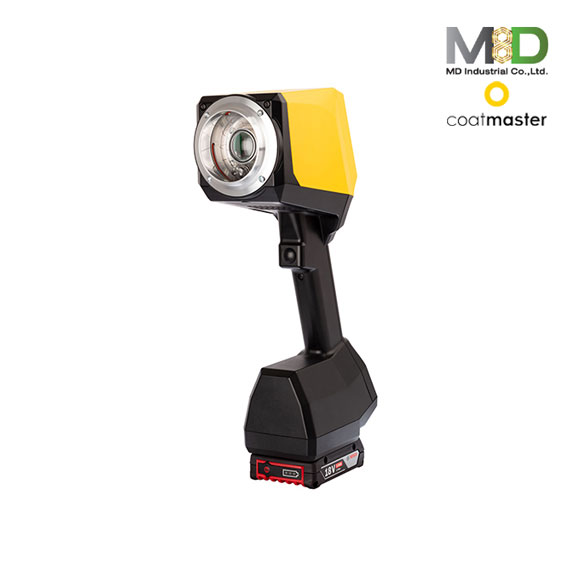
เครื่องวัดความหนาของสี COATMASTER เครื่องมือสำหรับวัดความหนาของชั้นเคลือบทันทีหลังการใช้ โดยเครื่องวัดความหนาของสี Coatmaster สำหรับการวัดผงและสีแบบเปียกและแห้ง
ลักษณะอื่นๆ
เครื่องวัดความหนาของสี COATMASTER เครื่องมือสำหรับวัดความหนาของชั้นเคลือบทันทีหลังการใช้ โดยเครื่องวัดความหนาของสี Coatmaster สำหรับการวัดผงและสีแบบเปียกและแห้ง เกจสามารถพกพาทำงานแบบไม่สัมผัสและไม่ทำลายโดยไม่มีการปล่อยมลพิษที่เป็นอันตราย Coatmaster เหมาะสำหรับการวัดการเคลือบผิวบนโลหะ กระดาษ ยาง เซรามิก แก้ว พลาสติก และพื้นผิวไม้
New generation of non-contact coating thickness gauges in field tests
Surveys show that even today, less than 10% of all powder coaters determine the layer thickness before baking or curing. The applied layer thickness is subject to many external influencing variables that cannot be completely controlled. These include, among other factors, the composition of the powder coating material, aging of wear parts and the humidity. With otherwise fixed coating parameters, the layer thickness can fluctuate by more than 50%. By classical means, an undercoating can only be prevented if more coating material is applied than necessary.
If the layer thickness is measured immediately after the coating has been applied, the target layer thickness can be precisely matched. In practice, powder coating material of up to 30% can be saved in this way. So far, many suppliers of non-contact coating thickness gauges have failed due to the high industrial requirements. The requirements include a high tolerance in handling, fast measuring process, so that measurements can also be taken on moving parts as well as a good agreement with comparative measurements in the burned-in state.
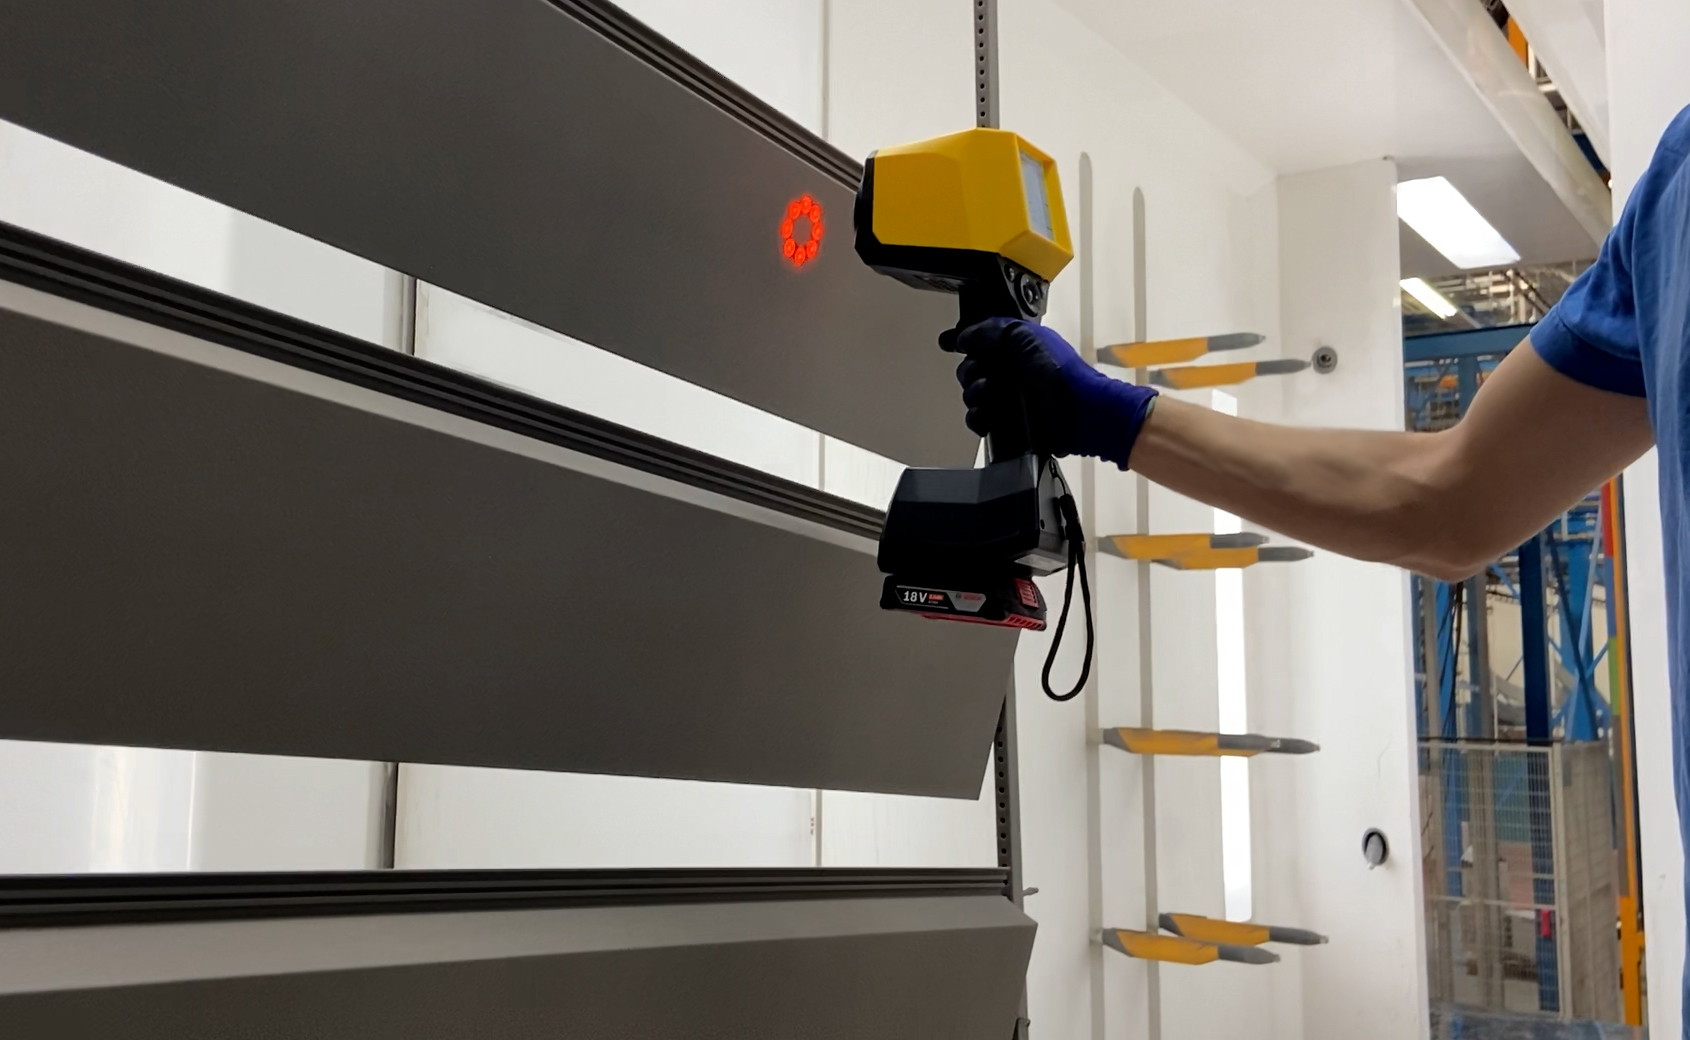
In September 2021, a new edition of the coatmaster Flex non-contact coating thickness gauge was introduced to the market. The measuring principle is based on Advanced Thermal Optics (ATO) where heat is applied to the surface over a large area by a barely visible light pulse. The heat transport through the coating is analyzed using high-speed infrared detectors and innovative algorithms. The coating thickness is determined from the propagation time of the thermal wave and the thermal properties of the coating material. This measuring device was put through its paces in a wide-ranging field trial with five contract coaters prior to the official market launch (Figure 1). Of the participating coaters, two came from Germany, one from Sweden,one from France and one from Switzerland. The participating companies employ 50-350 people, some of them spread over several locations. In addition to powder coating, wet paints and galvanic coatings are offered by these companies.

Figure 1: The new edition of the coatmaster Flex in a field trial
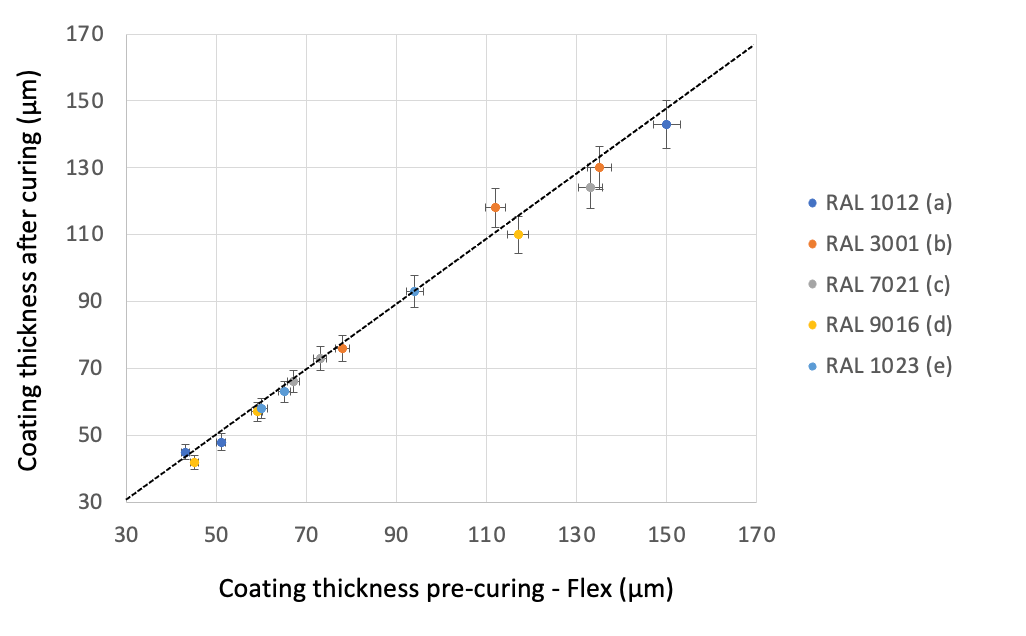
The field test first examined the measurement accuracy of the new coatmaster Flex. For this purpose, test substrates made of 0.5mm aluminum sheet were powder-coated in different RAL colors. For the investigation, fine-structured powder coatings from AkzoNobel, IGP and Kabe were used. After powder coating, the coating thickness was measured without contact using the set of preinstalled factory calibrations of the measurement system. The coatings were then cured and measured with a tactile coating thickness gauge calibrated to the test substrates. A total of 10 measurement repetitions were carried out at each measuring position in order to determine the statistical measurement error of the two measurement methods. Figure 2 summarizes the results of the field trial.

Figure 2 : Comparison of the coating thickness measurement before (coatmaster Flex) and after curing (contacting measuring method) for different RAL colors, determined by the companies (a-e) participating in the field test.
The repeatability of the coatmaster Flex is on average 2.1% of the displayed measured value across all measuring positions and 3.5% of the contacting method. The layer thicknesses before baking show a high correspondence with the layer thicknesses after baking, regardless of the RAL color. In most cases, the deviation is only a few μm. Within the scope of repeatability, the measurement before curing is consistent with the measurement after curing.
Three of the five companies participating in the field test had already used the old model of the coatmaster Flex, so that in addition to the measurement accuracy, the extended range of functions could be tested. Particularly positive was the SpectralBlue® technology, with which a completely glare-free work is possible. Furthermore, it was agreed that the Wifi range and battery life have been significantly improved. Accordingly, a network coverage is also given behind metallic covers or walls. Furthermore, more than 500 measurements are possible with a single battery charge, which corresponds to an increase of 30%.
An interesting feature of the coatmaster Flex is the possibility to process data directly in the cloud (see demo login at http://coatmaster.cloud). In addition to the process documentation and the possibility to create reports, production orders can now be created directly in the cloud, so that the coater can focus on taking the measurement. After the measurement process, measurement reports can be automatically generated for the production orders, which makes documentation processes much easier. Automated email notifications with statistics on the production process were rated as particularly innovative, allowing for better and more immediate control over coating quality and powder consumption. The participating companies agreed that cloud-based functions, as with coatmaster, must also find their way into other production tools from other manufacturers.